 Snorkel Coiba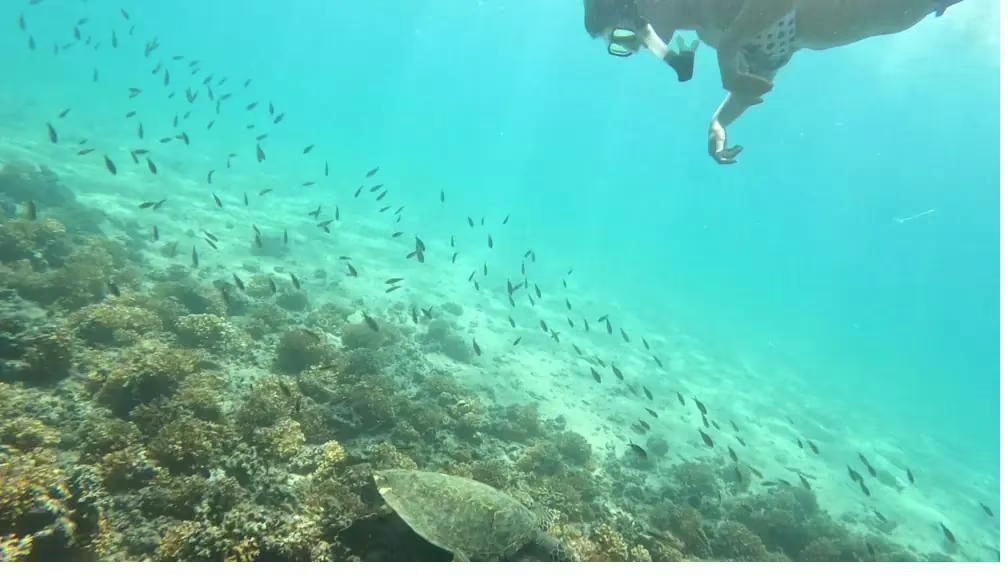
We watch this happen on every tour. Someone films the whole day, gets home, and finds that the turtle that looked spectacular through the mask came out as a grey smudge in blue soup. It isn't the camera. Water eats light and colour in a very predictable way, and once you know how, you can beat it with about four habits.
1. Get closer than feels right
This is the single biggest fix. Every metre of water between you and the subject strips contrast and colour. A turtle two metres away photographs badly no matter what gear you own; the same turtle at one metre looks like a different animal. Move slowly, don't chase, and let curious animals close the gap — many will. Never touch or corner anything: apart from being harmful, a stressed animal leaves.
2. Shoot upward, never downward
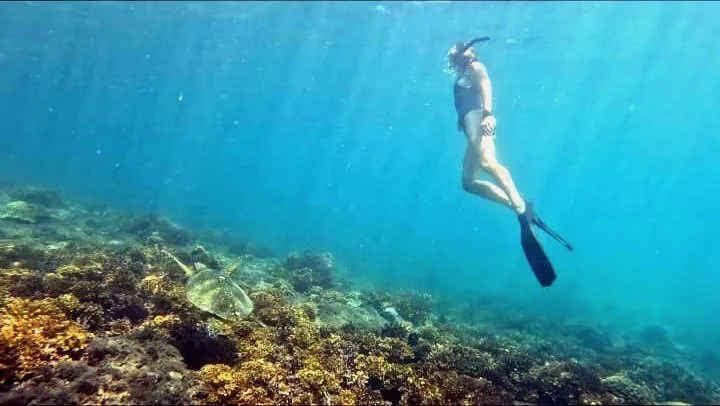
Pointing down gives you a subject against sand or rock, lit from behind, with no separation. Drop slightly below your subject and shoot up toward the surface: you get blue sky-water behind, light on the animal's face, and instant depth. It's the difference between a snapshot and a photo, and it costs nothing.
3. Red disappears first — plan for it
Water absorbs red within the first few metres, which is why everything trends blue-green. Two solutions: stay shallow (the top 3 metres keep most colour), or fix it afterwards. A red filter helps below 5 metres and hurts above it. If you shoot on a phone, warming the image in editing recovers more than people expect.
4. Settings that matter (and the ones that don't)
On a GoPro: 1080p60 or 4K30, wide field of view, and burst mode for anything moving. Turn on stabilisation. Skip the fancy modes. On a phone in a housing: lock focus by tapping the subject, shoot short video and pull stills from it, and use burst for fish. In both cases the mistake is filming for ten minutes; shoot many short clips instead — you'll actually review them.
5. Keep the lens clean and the housing sealed
Half of ruined footage is a smear of sunscreen or a single water droplet sitting on the port. Rinse and wipe the lens right before you go in, and again after each stop. A tiny drop of baby shampoo on the outside of the port, rinsed off, helps water sheet away instead of beading. And always check the housing seal for a hair or grain of sand before closing it.
6. What to shoot in Coiba specifically
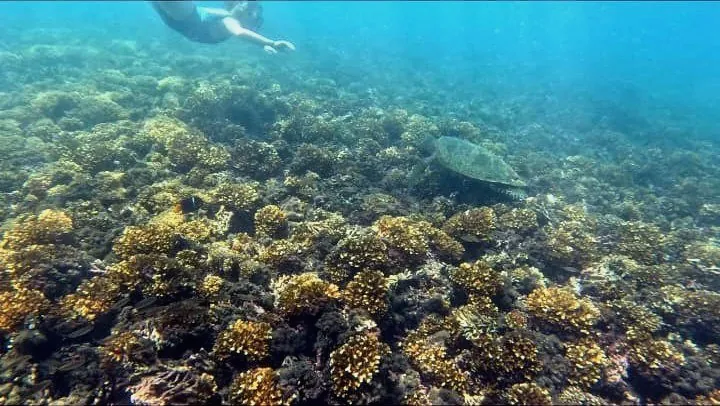
Turtles are the reliable star — patient, photogenic, usually approachable if you're calm. Whitetip reef sharks resting under coral heads make dramatic frames and are harmless. Schooling jacks give you scale. And from July to October the whales on the crossing are a surface-photo opportunity, not an underwater one — keep the camera dry and shoot from the boat. If you'd rather not bring your own, we rent GoPros for $30 a day; ask when you book.
Bring back photos worth showing
Three reef stops, turtles on most tours, and a GoPro available for the day if you want one.
Book on WhatsAppSee the Coiba tour